This holiday season, gather your loved ones and your poor quality produce, and spend time making decorations that are easy on the eyes and the environment. Making your own ornaments is a memorable holiday activity, and they are a great way to utilize food that would have otherwise been wasted.
Citrus Christmas Décor
In my household (and in households around the world), getting a clementine or orange in your stocking is a Christmas tradition that originated centuries ago. While this citrusy treat is nice to eat, it can also be used for decorations inside or outside in the form of garland or ornaments.
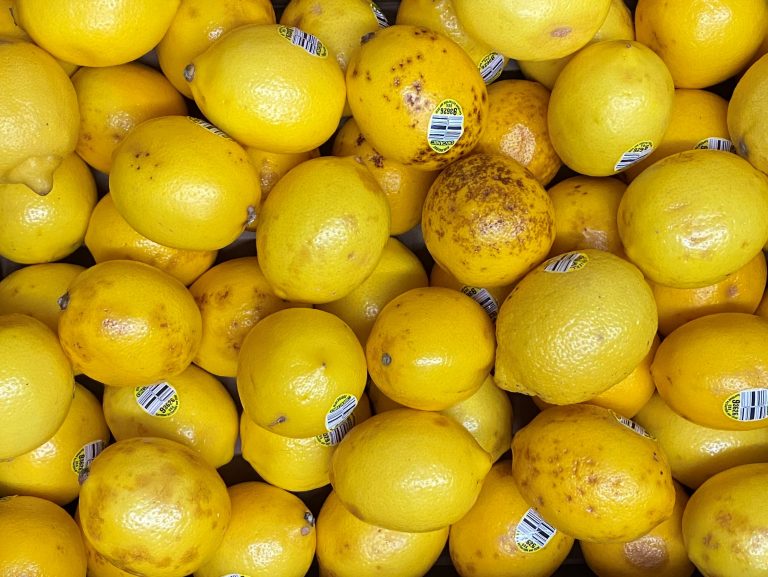
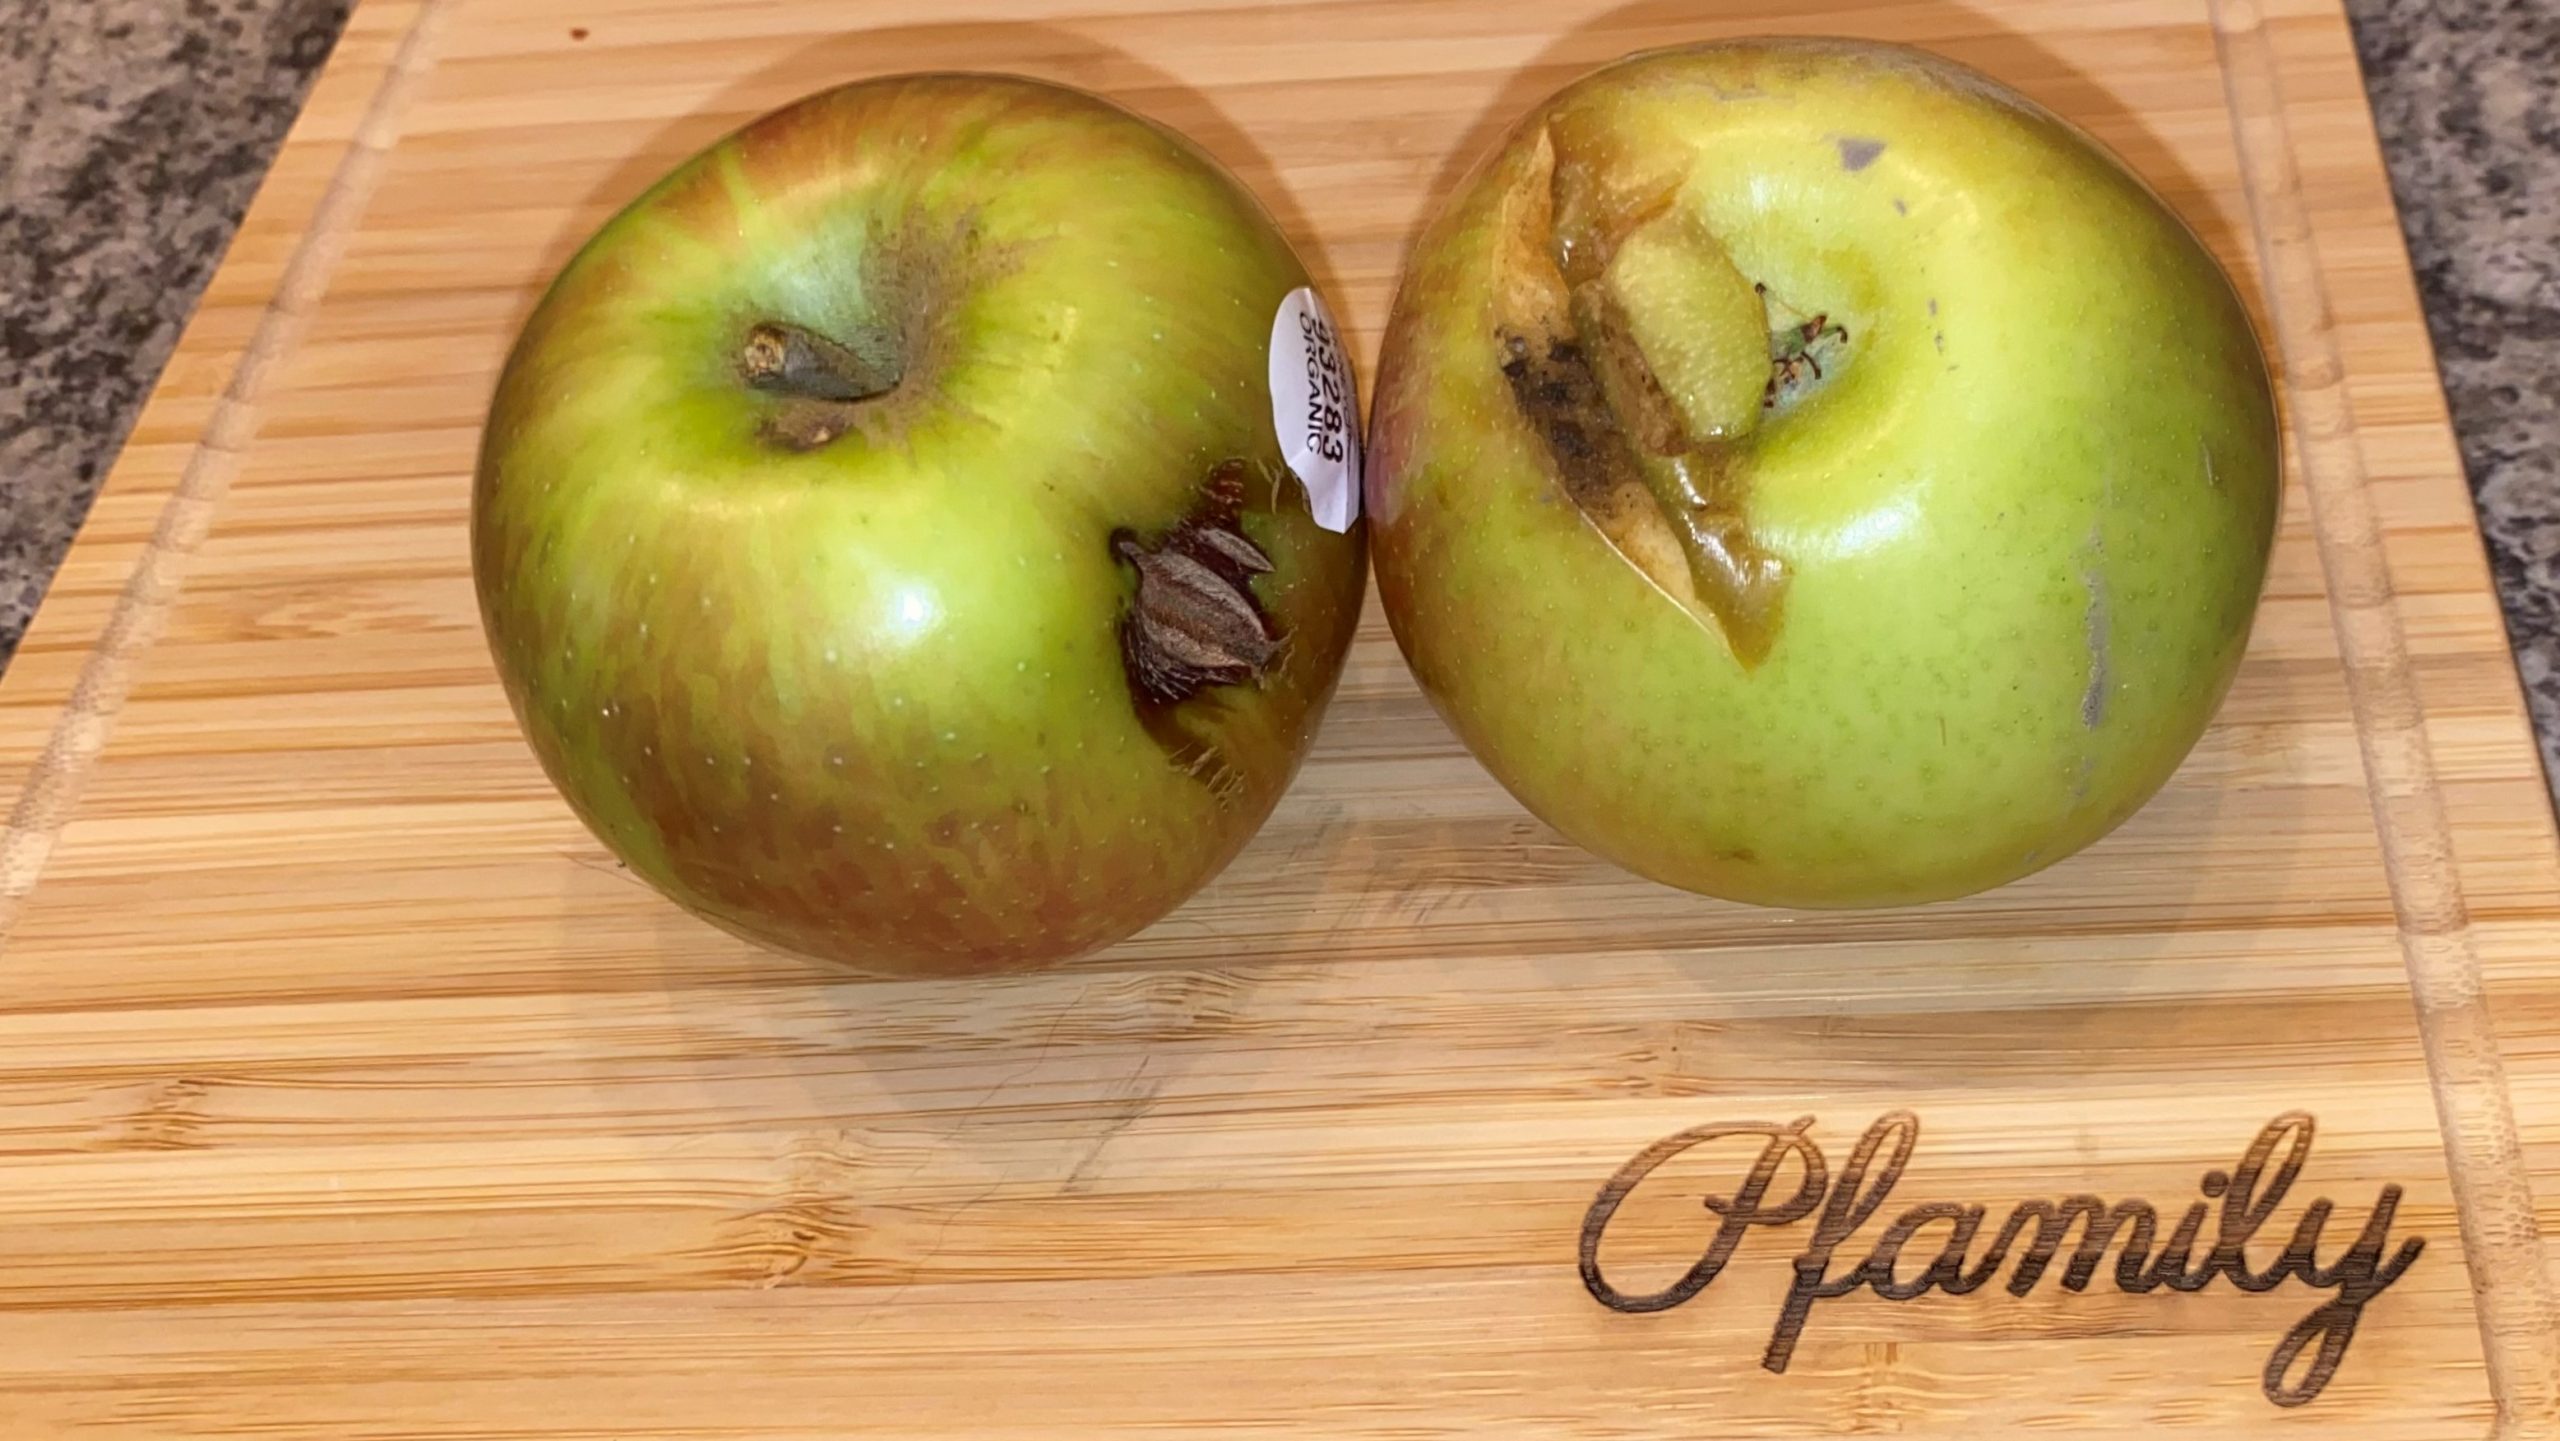
When I made these ornaments/garland this year, I used lemons, oranges, and apples that were poor quality and not ‘ideal’ to eat. They would have been composted regardless, but this was a nice and creative way to give the produce an extended life before they are eventually returned to the soil via compost.
You can dry your produce in three different ways depending on how much time you have – using the oven, a dehydrator, or air drying. While the oven takes less time and yields the same results, it is important to flip the slices to avoid them burning on one side. On the other hand, a dehydrator gives you the freedom to go about your activities without needing to flip them, but it takes much longer. For my slices, I used the oven and dehydrator and did a few trials to figure out methods that worked well.
Ingredients & Materials
- 5-6 oranges, clementine’s, limes, grapefruit, lemons, or apples – depending on how many you want to make you can use more
- Mandolin slicer or a VERY sharp knife
- Cutting board
- Baking sheet or wire cooking rack
- Parchment paper (if using a baking sheet)
- Twine or ribbon
- Sewing needle or scissors
Instructions
Step 1: Preheat your oven to 300° Celsius and prepare to cook the slices for 2-3 hours – the low temperature for a few hours will reduce the risk of burning the slices, and it will give your kitchen a nice citrus scent while it’s cooking.
Step 2: While the oven is preheating, gather 5-6 oranges, lemons, clementines, or apples and cut them horizontally into thin slices – the thinner the slice the quicker it will dry out, but make sure the slices are cut evenly. Blot the slices with paper towel or napkins to extract excess juices to help the process.
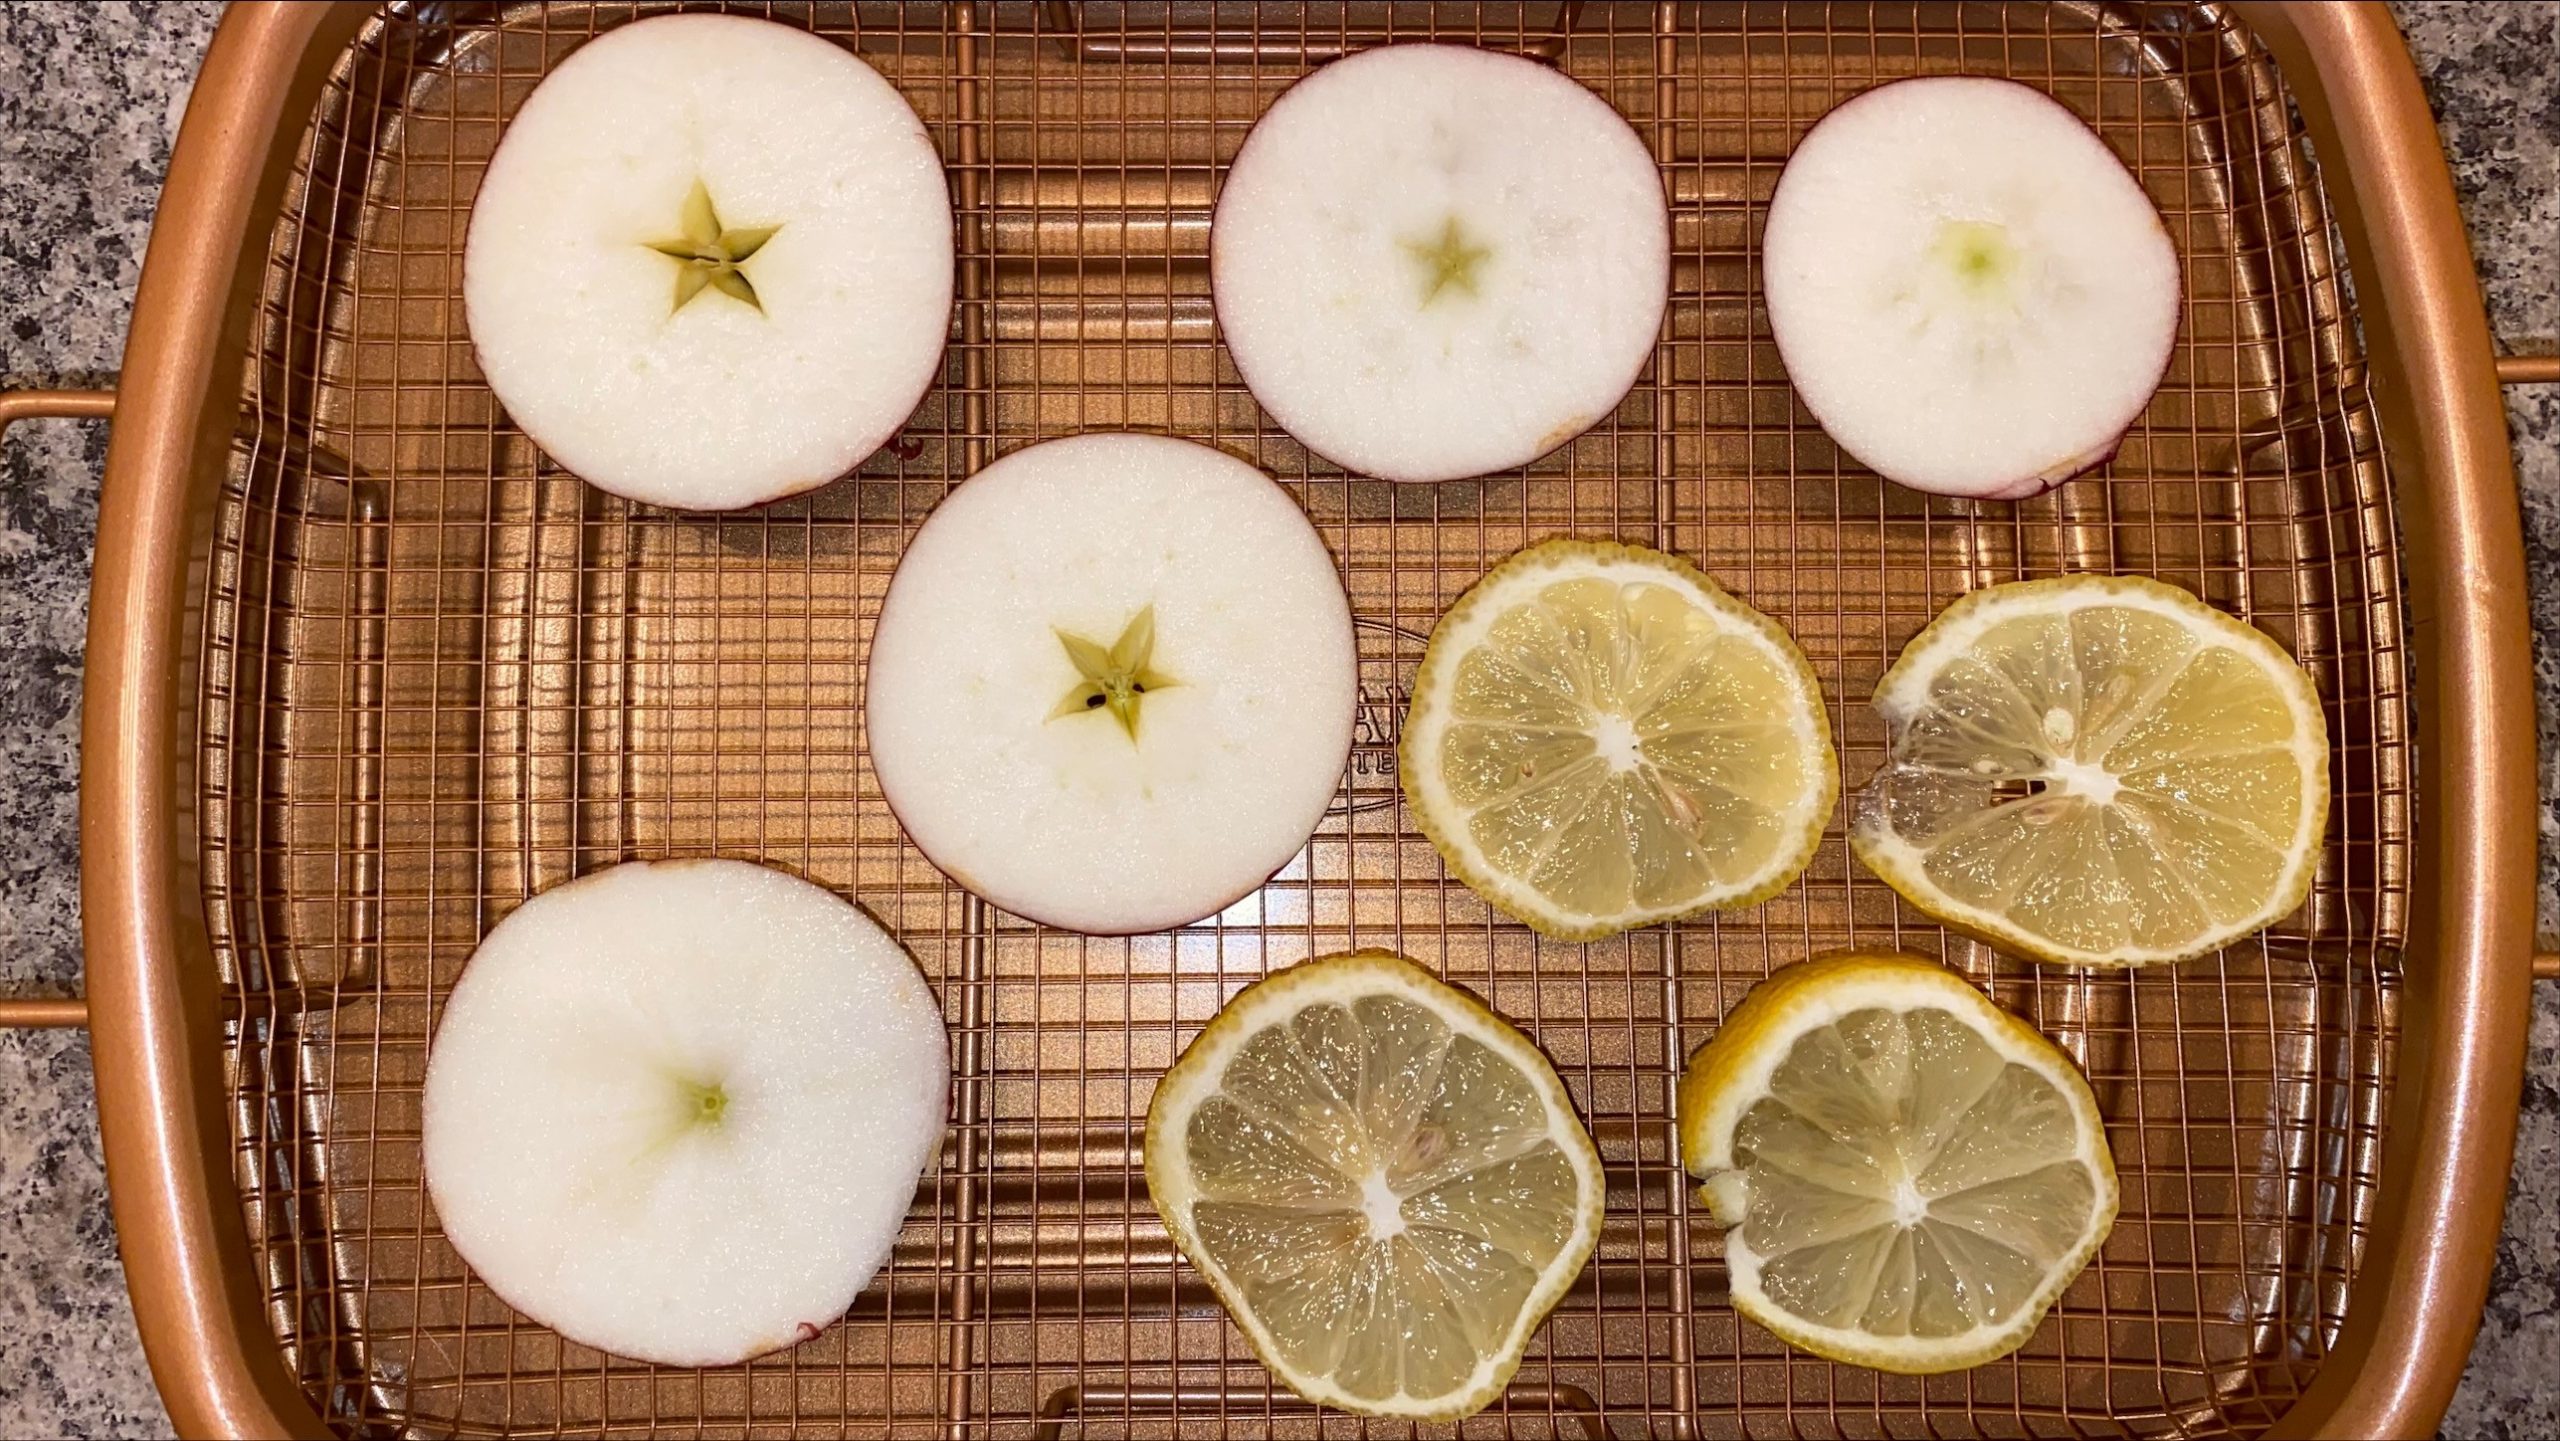
Step 3: Lay the slices on parchment paper or a wire cooking rack. I tried both methods, but I found the wire rack worked better because it allowed for even airflow on both sides, and it prevented juices building up on the parchment paper which would keep the fruit moist.
Step 4: Every 30 minutes check on your slices and flip them. Monitoring and flipping them is especially important if cooking on parchment paper.
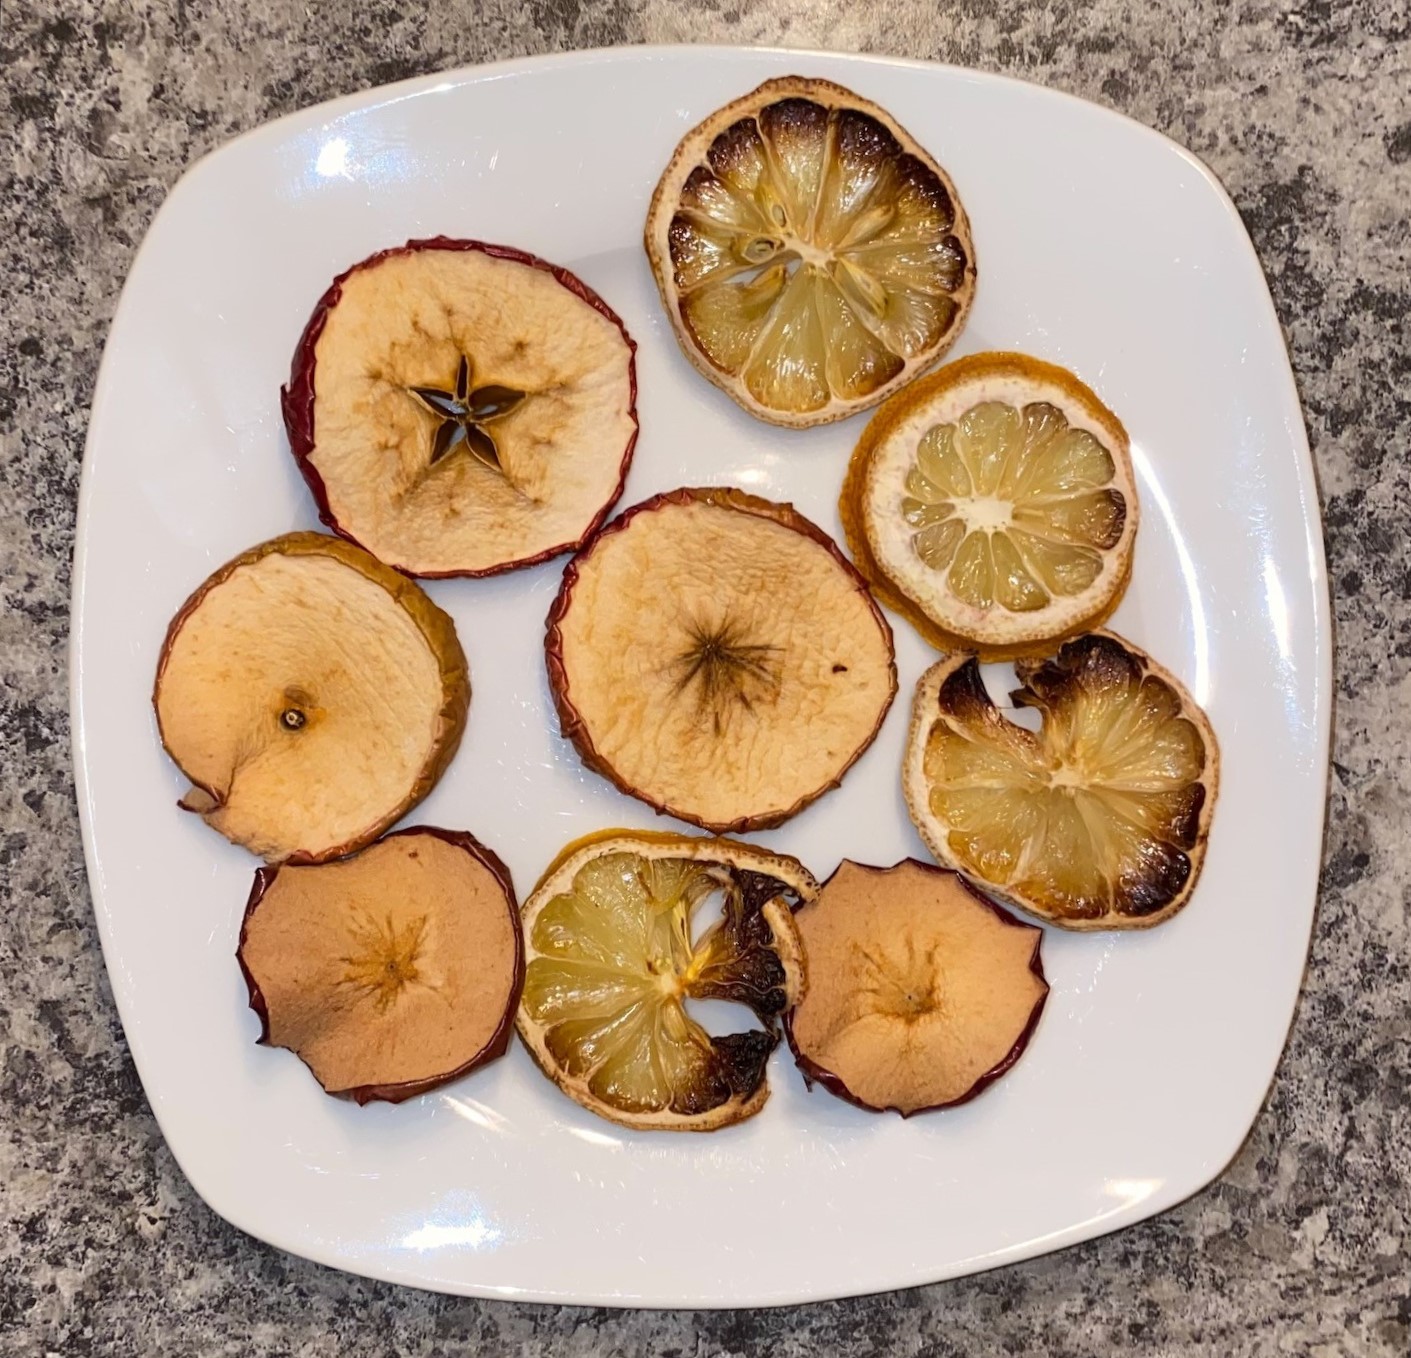
Step 5: Bake your slices until they are a little brown on the edges and still *slightly* soft in the center. If using a dehydrator, it is best cool them until they are completely dry but not crunchy and breaking apart — for me, this took 15-20 hours.
Step 6: once the slices have dried completely, make a small hole at the top or in the center and string twine through — I found it was easiest to use a sewing needle to make the hole but using a knife or scissors and gently twisting it to make a hole works as well. In my first trial I used sewing thread, but this only works for individual ornaments. If you’re making a garland rather than singular ornaments, tie a knot after each slice to keep it in place.
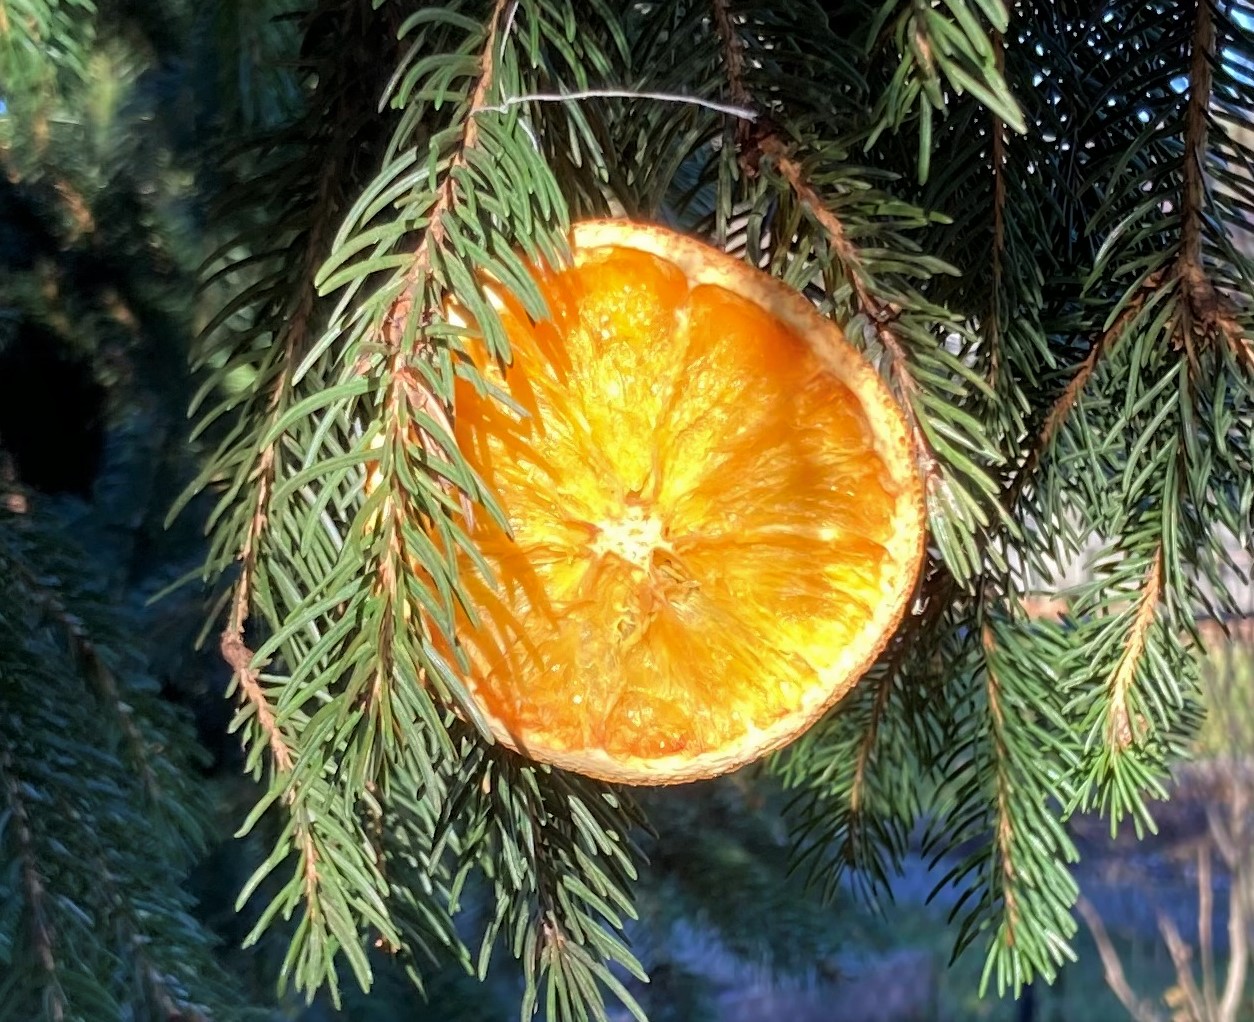
Step 7: deck the halls, Christmas tree, or outdoor trees/shrubs with your garland and ornaments. These ornaments/garlands are safe to use outside and are a good snack for birds because they not only taste great, but they are super-packed with vitamin C which will support the immune system of birds.
If properly dehydrated, your orange décor should last throughout the holidays, but will naturally darken over time — at this point, decorations can be put in the compost so they can be returned to the soil and used as a valuable soil amendment.
No matter how you make your ornaments or garland, it’s a fun activity and way to utilize fruit that is less than ideal to eat. I have a feeling that making these ornaments and garland will be a new tradition in my household.
Apple Sauce & Cinnamon Ornaments
The sweet scent of cinnamon coupled with the satisfaction of making apple sauce by hand contributes to a overall enjoyable experience. While these ornaments are apple-aling to the eyes and nose, they should not be eaten.
Ingredients/Materials
- 6 wrinkled, mushy, bruised apples
- 1 cup of water
- 1-1/2 cups cinnamon
Making the Apple Sauce

Step 1: Peel, core, and quarter apples, leaving any bruises and blemishes but removing rot. Anything that’s not used in the sauce can be composted.
Step 2: Add apples to a large pot with 1 cup of water (or less, if using water-dense apples like Macintosh).
Step 3: Place the lid on a pot and bring the water to a boil. Once the water boils, reduce to medium heat for 10 minutes, or until the apples are cooked thoroughly.
Step 4: Remove the lid and use a potato masher to mash the apples thoroughly. If a lot of liquid remains, continue to simmer the pot and reduce the liquid.
Making the Ornaments
Step 1: Combine 1 cup of the homemade apple sauce with 1 cup cinnamon. If the mixture is too dry add a bit more applesauce, or a little more cinnamon if the mixture is too loose.
Step 2: Before rolling out the mixture, dust the surface of your table with cinnamon to prevent the mixture sticking to the table and the rolling pin.
Step 3: Roll out the mixture until it reaches a desired thickness (ideally, around 1cm).

Step 4: Cut out the mixture using cookie cutters and make a hole with a straw or skewer. If you don’t have any cookie cutters, use a small glass to make a nice circular shape.
Step 5: Gather up scraps, re-roll, and continue making ornaments until all the dough has been used.
Step 6: Lay the cookies on a cookie sheet with parchment paper or wire cooking tray, and bake for 2 hours at 200° for two hours, or until the ornaments are dry and hard.
Step 7: Let ornaments cool completely. Once cooled, string with twine or ribbon and place on your Christmas tree or outdoors.
Cranberry and Popcorn Garland

While the origin of putting popcorn garland on Christmas trees is not definitively known, many think it was carried over from the German practice of decorating their trees with fruit. Regardless of where the tradition originated from, it’s a relatively easy and environmentally friendly way of decorating indoor or outdoor trees. There’s no set way on how to make the garland, so let your creativity flow.
Ingredients/Materials
- Popcorn
- Cranberries, dried oranges, apples, or any other fruit you want to use that is safe for animals to consume (if putting the garland outside)
- Sewing needle and thread
Instructions
Step 1: Start by threading your needle with string and tie a knot at the end to keep everything in place
Step 2: Begin threading the garland. I recommend using a cranberry or something sturdy at the end since the thread will be less likely to pull through it (i.e., the thread might pull through the center of an orange or popcorn).
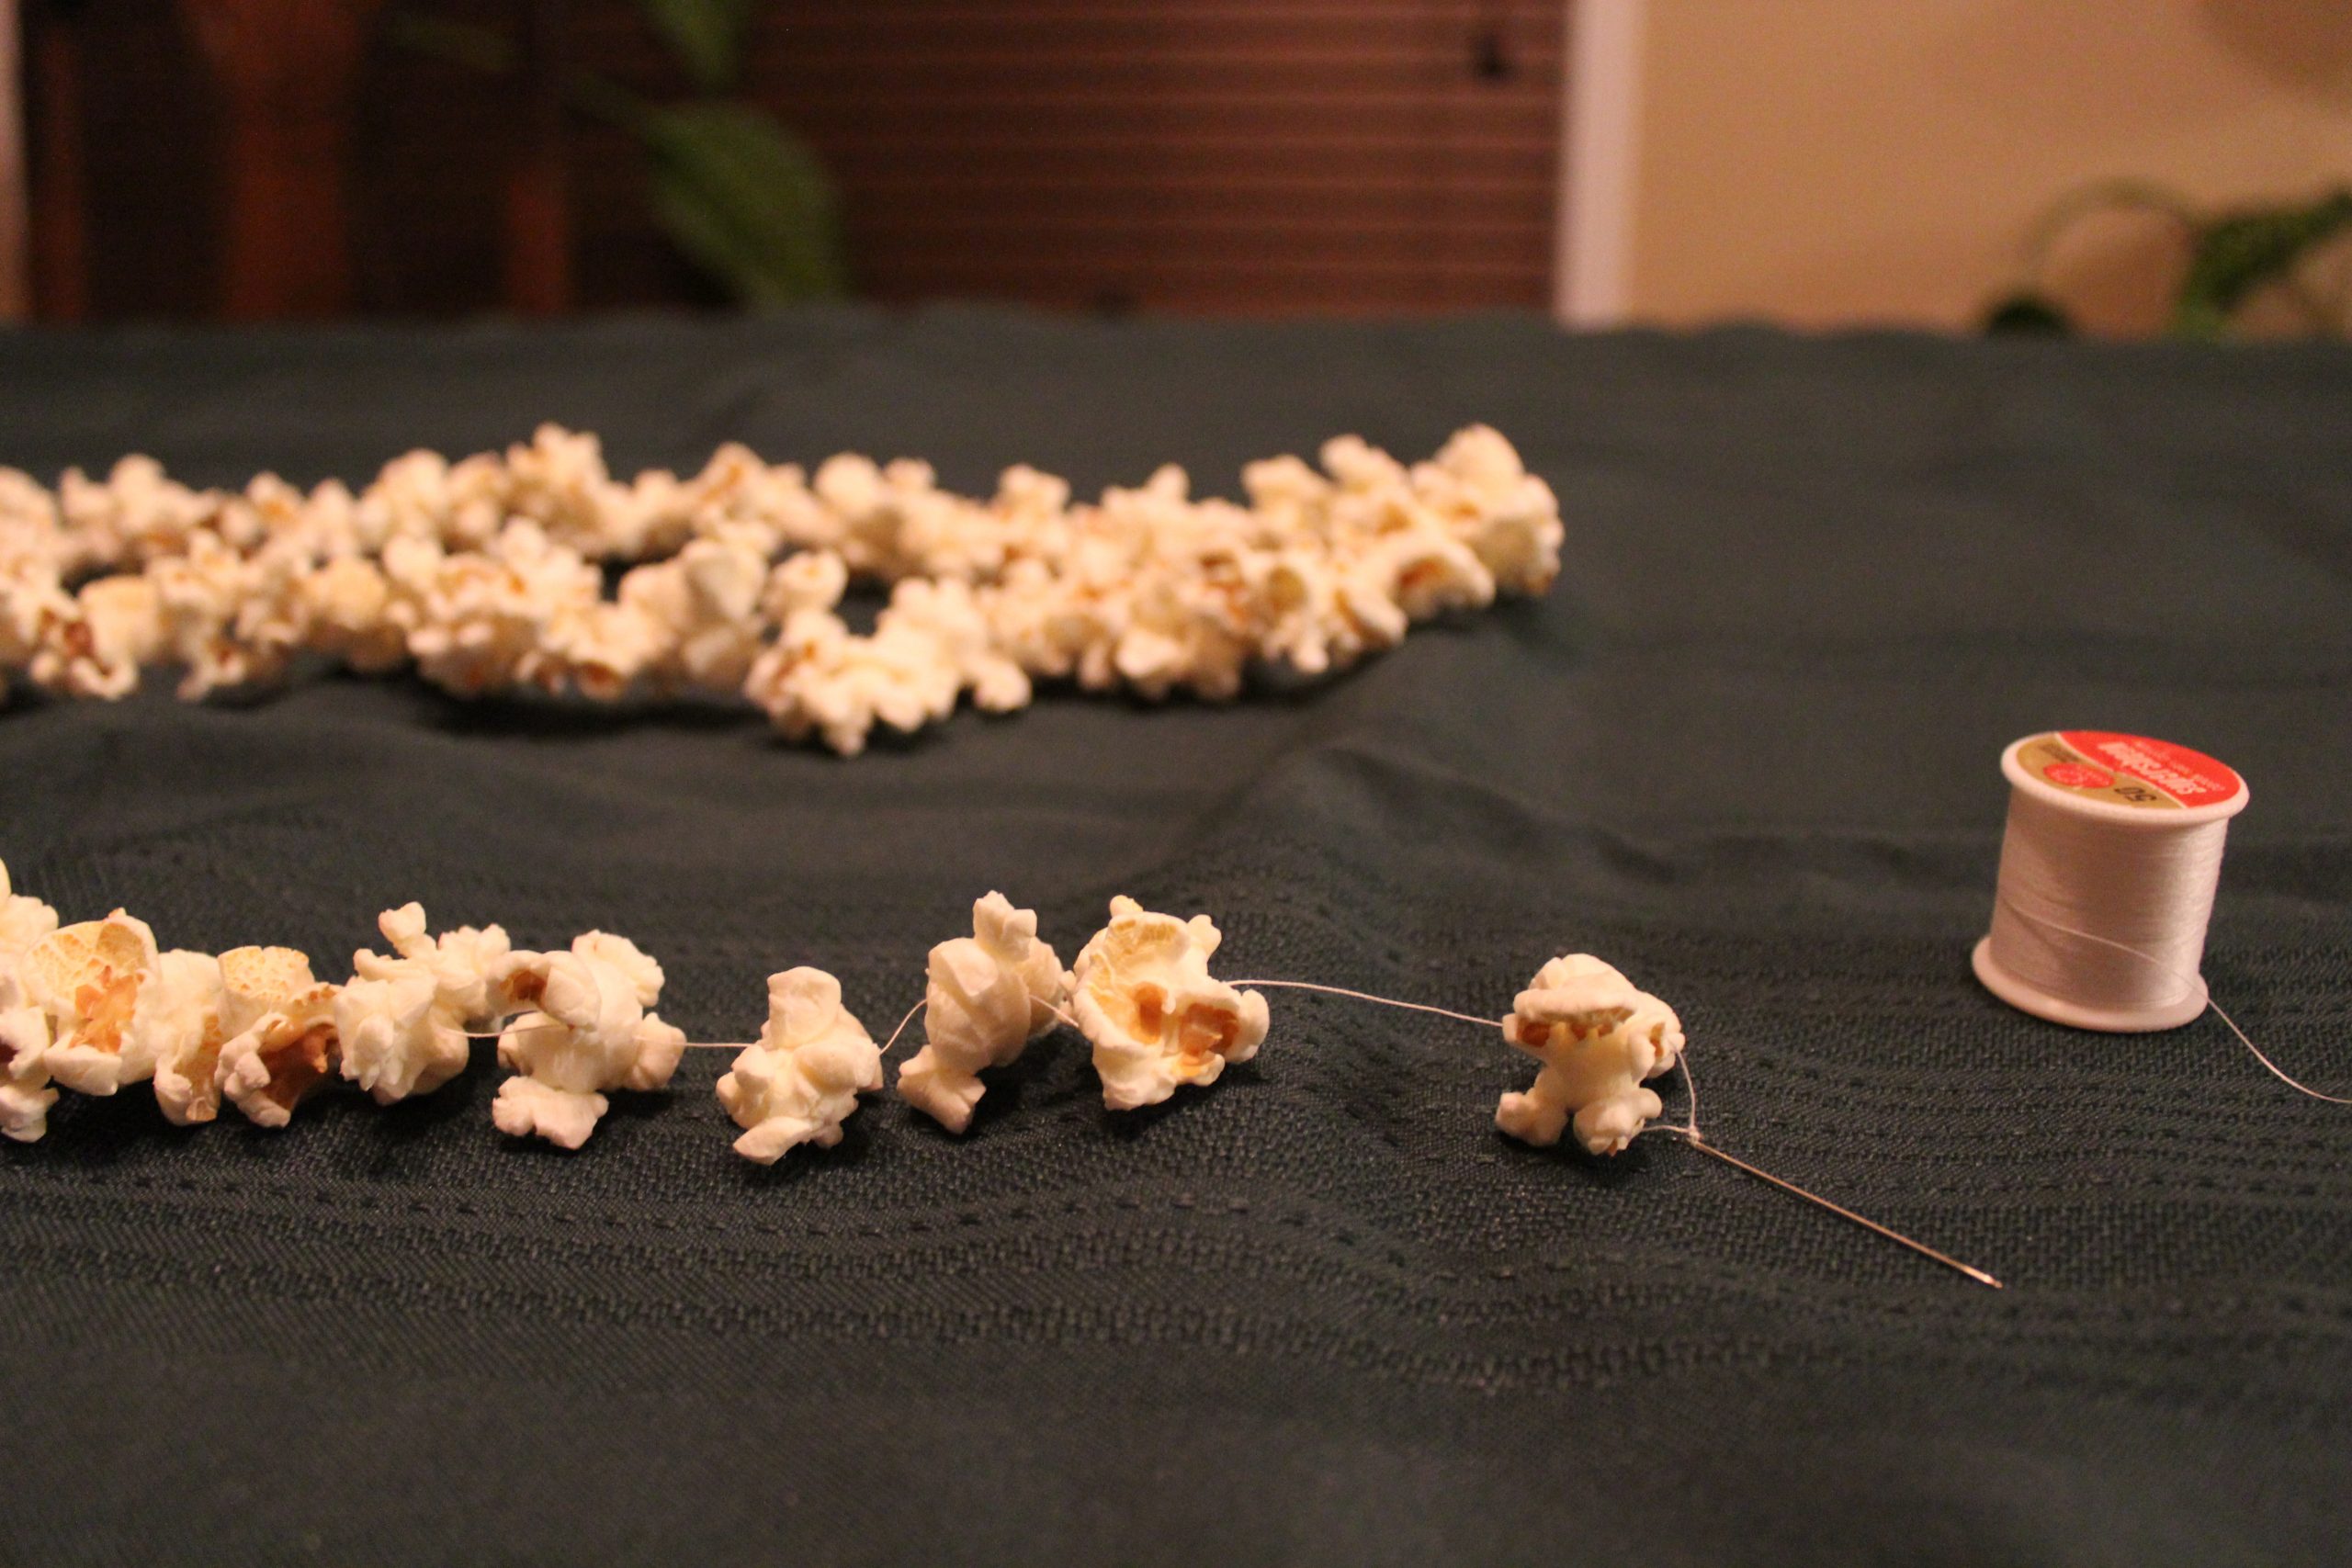
Step 3: Gradually build your garland by threading on items. This can either be done in a pattern, or completely random — whatever you feel like doing will look great. Make it as long as you need/feel like building.
Step 4: When you’re done the garland, put it on your Christmas tree for decoration, or a tree outside so it can be a nice snack for the birds and squirrels. If you put it outside make sure you remember where you put it so that you can collect the string and and properly dispose of it in the garbage.